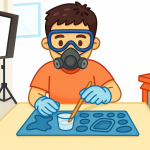
🔬 1. Measure Precisely—Always by Volume, Not Weight
- Epoxy resin formulas are calibrated for volume ratios (e.g., 1:1 or 2:1).
- Weighing can throw off the chemical balance, leading to soft cures or cloudiness.
🌡️ 2. Control Your Environment - Ideal pouring temperature: 70–75°F (21–24°C).
- Cold rooms slow curing and cause bubbles; hot rooms accelerate curing and reduce working time.
- Use a heat gun or torch to pop surface bubbles—but avoid overheating.
🧪 3. Mix Slowly and Thoroughly - Stir for 3–5 minutes, scraping sides and bottom.
- Fast mixing introduces air; under-mixing leads to sticky or uncured resin.
🧼 4. Prep Your Workspace Like a Pro - Cover surfaces with silicone mats or freezer paper.
- Tape off areas you don’t want resin to touch.
- Keep a dust dome or box ready to cover curing pieces.
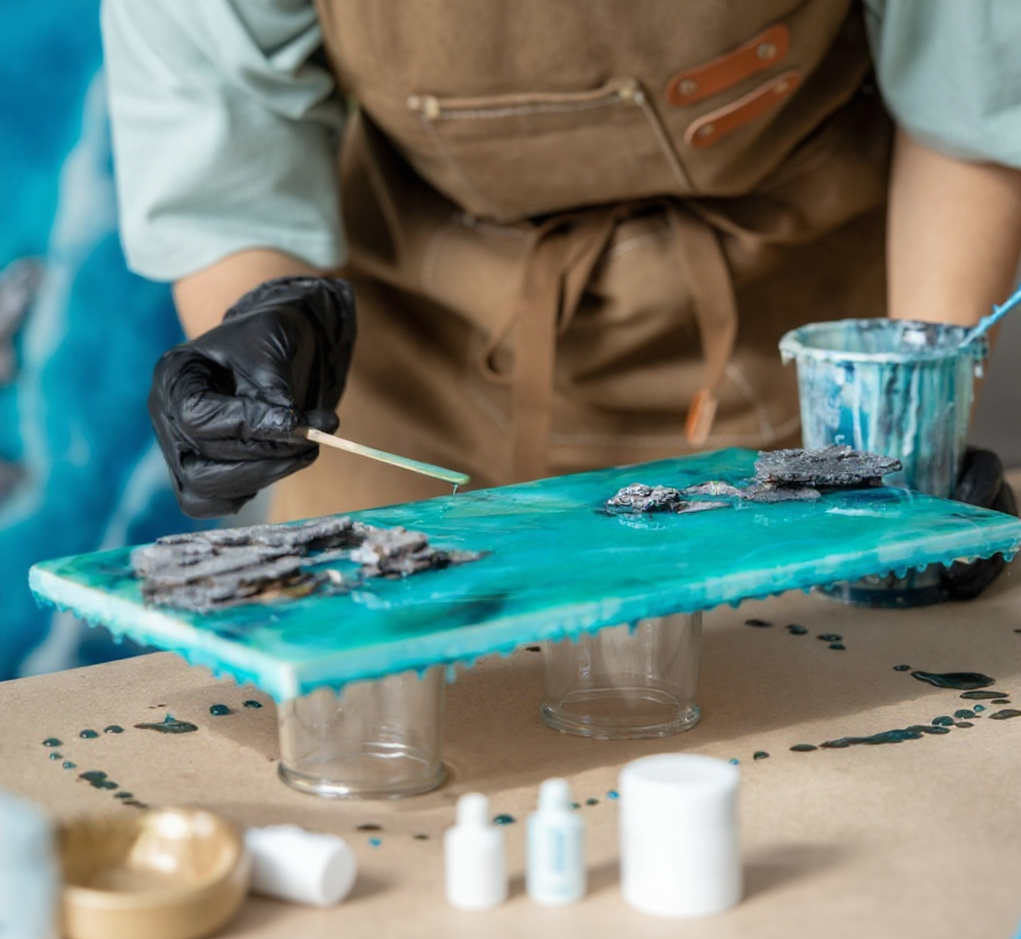
🎨 5. Layering Is Your Friend - Pour in stages to build depth, embed objects, or create effects like sea foam or snow.
- Sand between layers if more than 12 hours pass to ensure adhesion.
🧩 6. Use High-Quality Molds and Pigments - Cheap molds can tear or leach chemicals.
- Pro artists recommend platinum-cured silicone molds and UV-stable pigments for longevity.
🧘 7. Embrace Imperfection - Resin is unpredictable—drips, bubbles, and color shifts happen.
- Many pros say their best pieces came from “mistakes” they leaned into creatively.